
Editing full sun photos can be difficult if you are used to editing golden hour or full shade portraits. Full sun photos taken with a DSLR or Mirrorless camera can easily look like they were taken with a cell phone if you aren’t careful with your editing.
If you are struggling to take full sun photos, I highly recommend reading the last blog, 3 Tips to Taking Full Sun Photos .
For full disclosure, I edit all of my photos with Adobe Lightroom however my recommendations can be applied to other editing applications.
Make the photo flat
When you are starting the editing process of your full sun portrait, I recommend making your photo flat. What I mean by that is decreasing your blacks and shadows and reducing your highlights and white’s slider. What this will do is provide you with a good base photo that would be something similar to what you would get with your full shade or golden hour photos.
Do not make general edits
To enhance your colors and contrast, I recommend using the selective tool. This will allow your photo to stay flat. Changing each section gives you more control over the whole editing process. If you want the portrait as a whole to be brighter, you can use the radial tool to increase your exposure or using the exposure slider as a general edit can be safe in some instances; just be cautious.
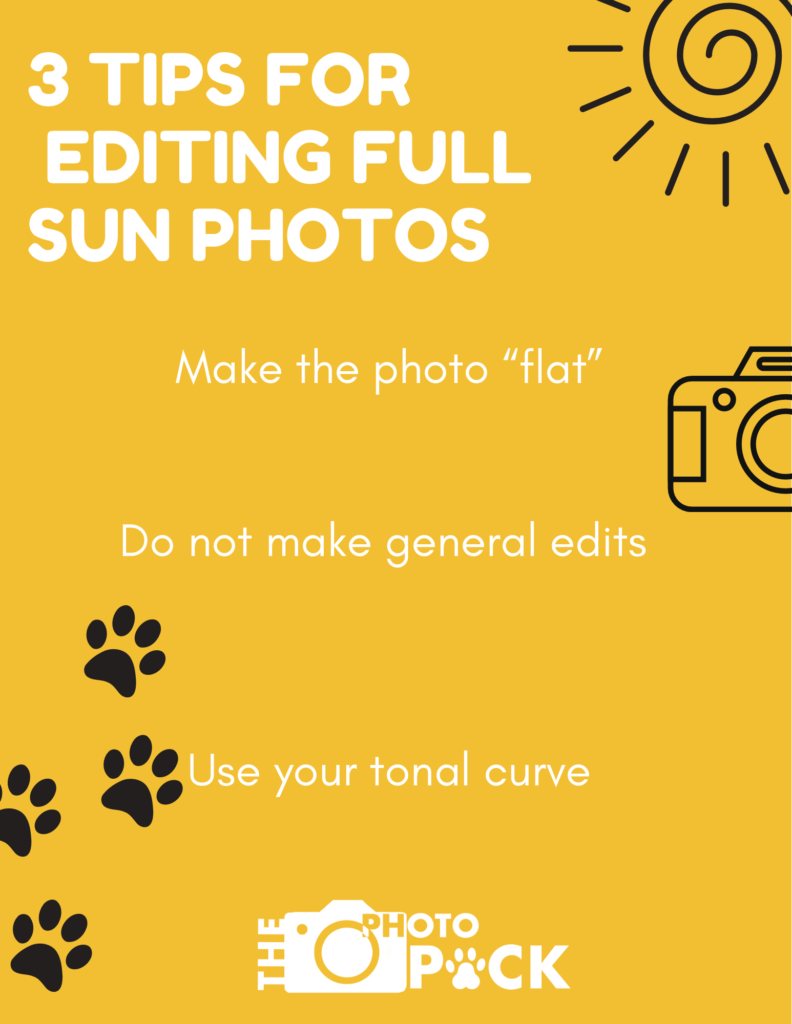
Use your tonal curve
Use your tonal curve to reduce the “camera phone” feel of the portrait. I use the RGB curve and lift the shadows very slightly so that the blacks and are not as black. You can also do the “S curve” with your edit to give it more dimension, tonal curves will definitely give your photo a signature look.
Editing full sun photos can definitely be discouraging, hopefully you found this article helpful and as always, if you have any questions my DMs on Instagram are always open!