
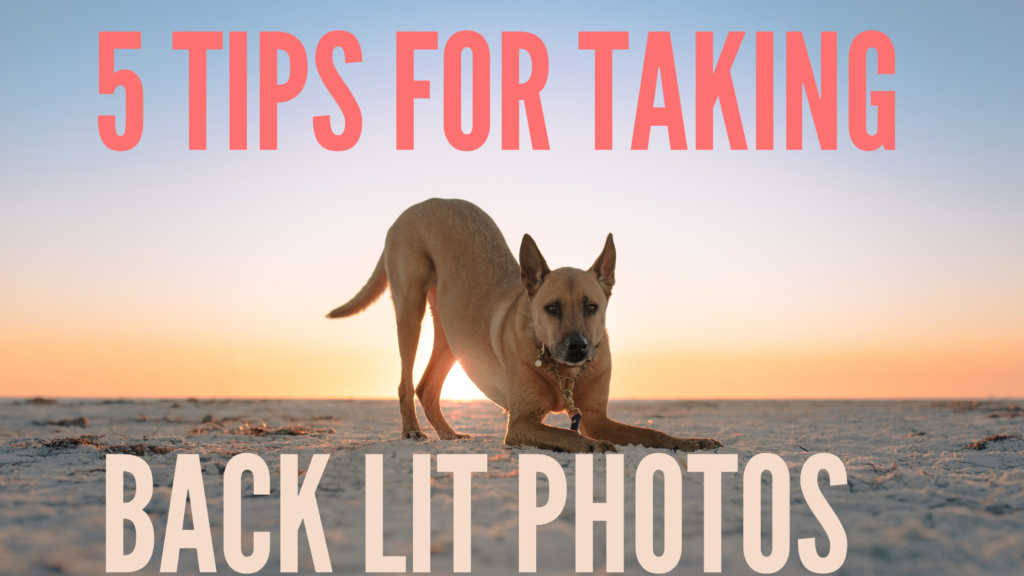
Have you ever tried to take a backlit photo of your dog before, only for it to look like a silhouette or your dog is exposed correctly and your sky is completely blown out?
I know I used to in the beginning and I would want to rip my hair out, I was so unbelievably frustrated. I am going to teach you a couple of tips and tricks on how to take a perfectly exposed backlit photo.
For full disclosure, this blog is for DSLR and mirrorless camera users.
First, let me define what exactly a backlit photo is. A backlit photo is when your subject is in front of the sun, ultimately casting a shadow on them due to the lighting direction.
1. Shoot in raw & manual mode
If you are not already doing this, you need to stop reading this article and change your file type in camera to “RAW”. These are larger file types that will allow your camera to consume more information about the portrait you are taking. This file type will make a huge difference in your editing capabilities overall and especially when taking backlit photos.
Manual mode will allow you to have control over every aspect of the exposure triangle when taking your portrait.
2. Keep your ISO low
Have your ISO set to the lowest it will go, most camera’s lower ISO setting is 100. Keeping your ISO at 100 will allow you to have more data recovery when you are editing in Lightroom and reduce the amount of grain or noise that will be produced when lifting your shadows in the post-processing phase.
3. Set your aperture “wide open”
A wide-open aperture is when you set your F stop as low as it will go for most cost-effective prime lenses this is 1.8, for beginner kit variable aperture lenses this is 3.5. Setting your aperture to as wide as it will go will permit as much light at possible into the sensor. This is important as backlit photos are usually taken during the golden hour and depending on your photo location, it can get pretty dark.
4. Use your shutter to control the exposure
If you set your ISO to 100 and your aperture to the widest setting, you will only have one of the three exposure triangle settings to worry about, shutter. I use the shutter to control my exposure because my dogs are usually posed for backlit photos and not moving which would not require a high shutter speed.
My understanding for shutter speed is, you can go as low as the focal length of your lens to avoid and handshake produced by your hands while taking the photo. For example, a 50mm 1.8 lens, your shutter can go as low as 1/50 to avoid and motion blur caused by unstable hands.
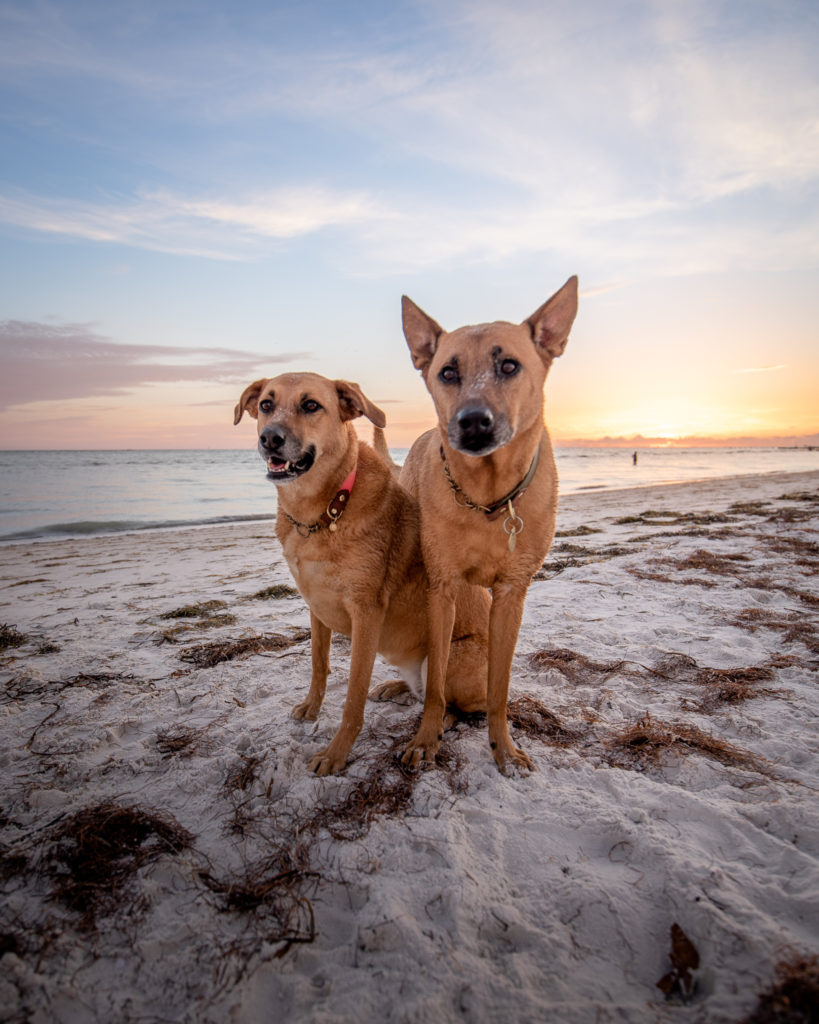
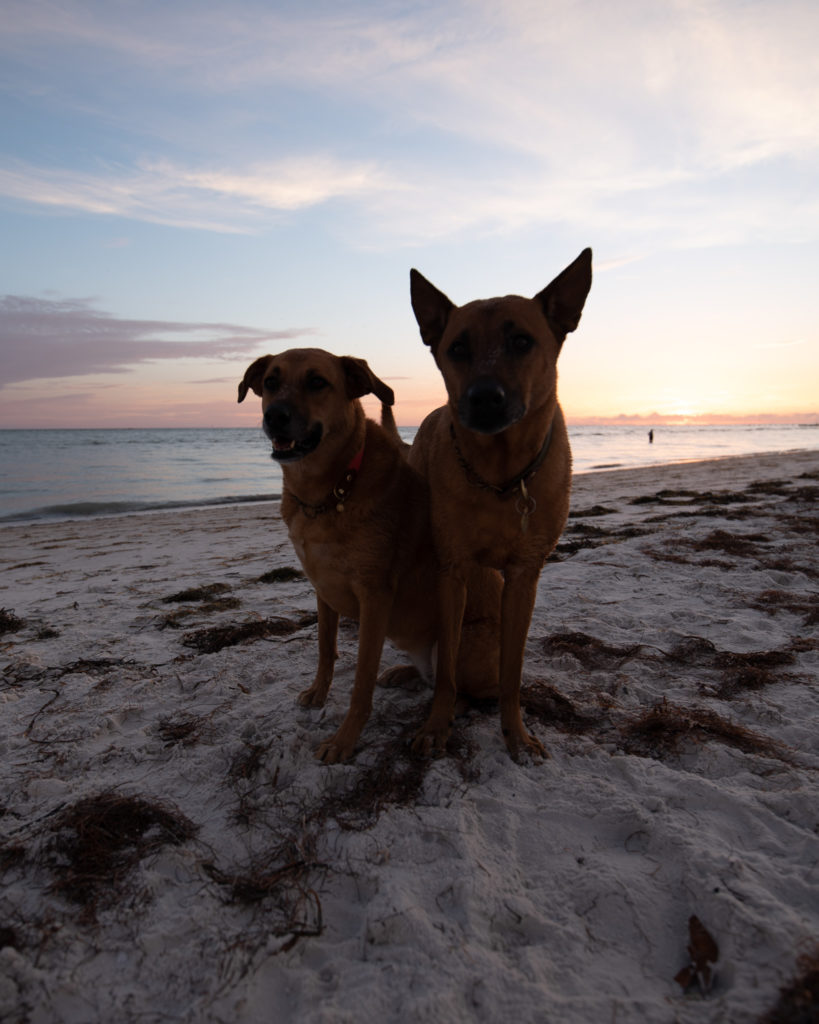
5. Expose for the sky, under expose your main subject
This is the most important recommendation I can ever give anyone. Expose your photos for the sky and not your subject and you’ll always have colorful and gorgeous photos. What exactly does that mean? When you take your photo, your sky will be perfectly exposed and your subject, typically your dog, will be underexposed. However, that does not mean take the photo until your subject is black. If your subject is black you need to decrease your shutter speed and lighten your subject up. I usually make sure I can faintly see some details on my dogs, whether it be the collar, tag, or a distinctive pattern such as a white spot. If you can see some slight detail on your camera, you will be able to edit the photo to your liking.
Hopefully, you have found this article helpful and can continue to expand your photography skills. As always, share this article with your friends, tag me in your stories on Instagram, or send me a DM!